
Building a frame 101:
This is by no means a step by step for you to follow. I likely have made an unlimited amount of missteps and mistakes. That being said. I did make a frame from the ground up and said frame is mostly straight and has not broken yet. For a first go, I would dare say that this project was a success. Maybe not in having a product that could be sold to anyone else, but certainly in learning a ton and getting the itch to build so many other things.
This story started a few months ago when my friend and business neighbor Andy randomly decided he was going to build a frame. He bought a jig from Benchmark Tooling and designed some stuff up in 2D. Andy has always been a guy who gets an idea and just makes it happen. I stopped by his workshop a couple times and was always so captivated. He finished the first frame, we went on a short "make sure the head tube doesn't fall off" ride and things were starting to get more and more real in my head. I was in, but didn't have the money to build an entire bike (I already have too many bikes). I listed my Merman Unholy Diver for sale and said "if it sells, I will send it". I had signed up for the MADE bike show in Portland by that time and what better way to get some publicity than by brazing up your own frame a week before the show. A couple days later, my Merman sold and I ordered all the parts and tubing. Here is a link to the spreadsheet I was working off of to build everything out.
LINK TO BIKE BUILD SPREADSHEET
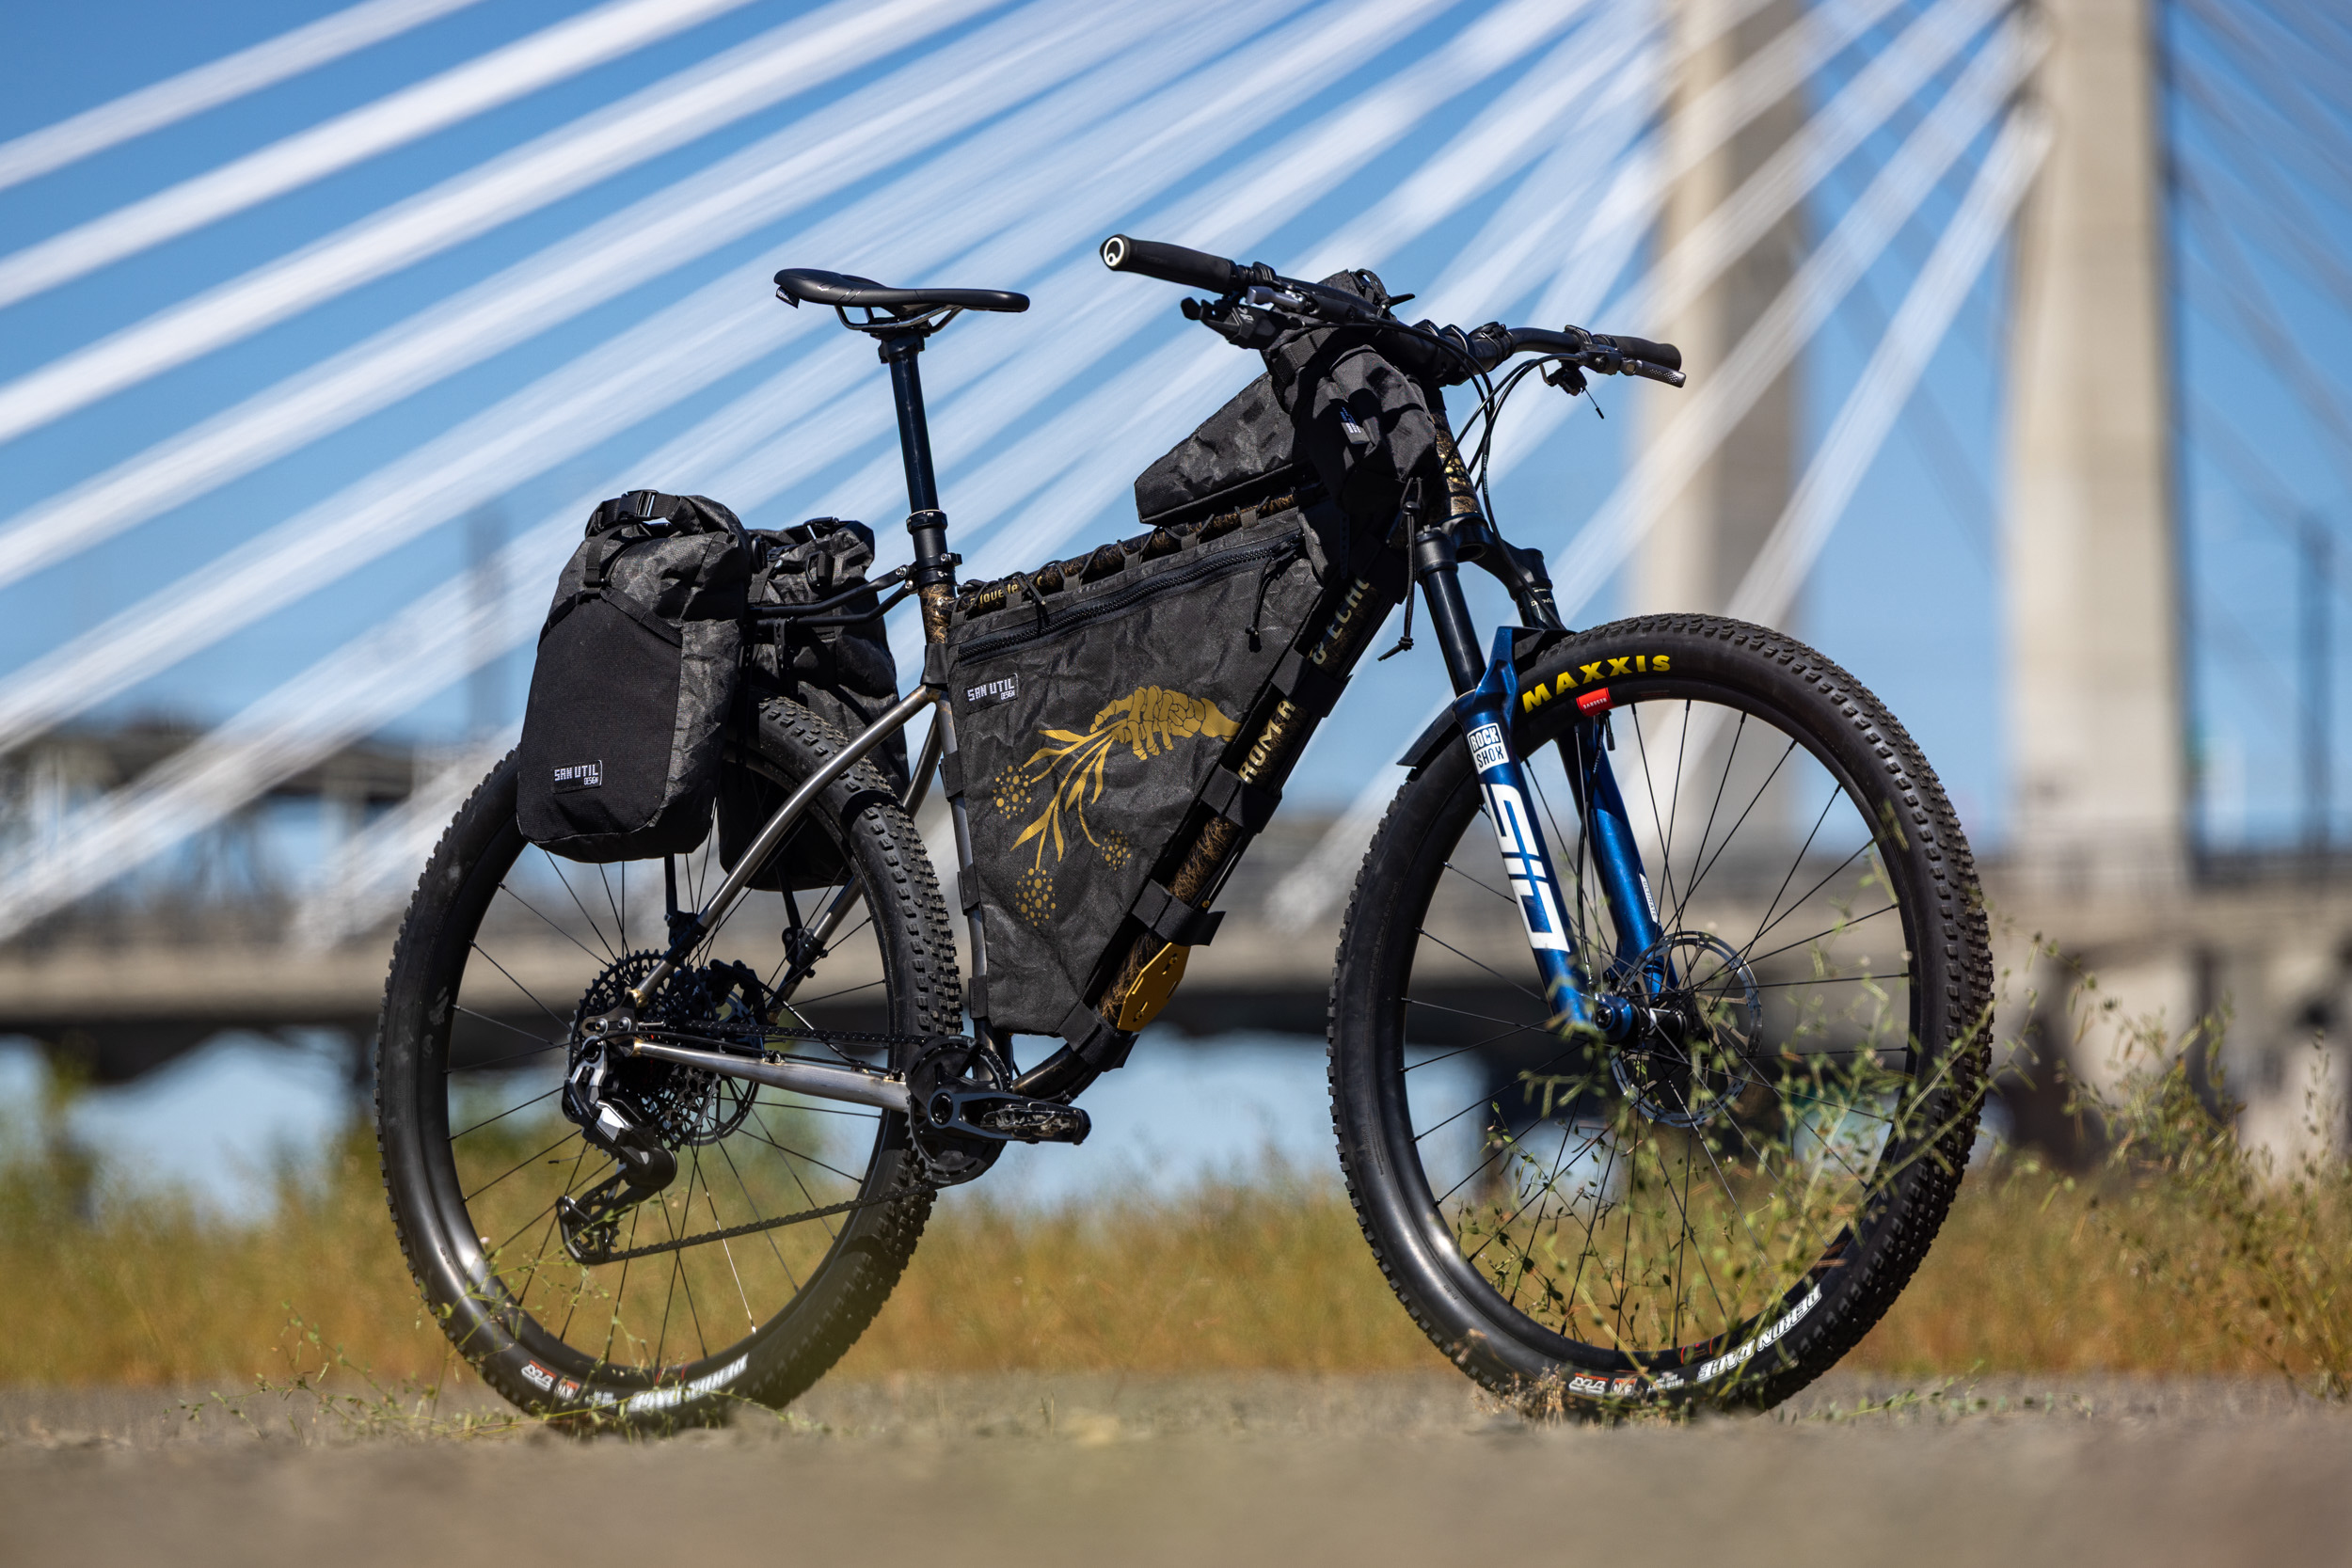
I am not a CAD expert, but through designing and building hundreds of frame bags, art, and logo projects I have gotten a tiny bit better at Illustrator. Along with the geo numbers for the frame, I also had a pretty specific art direction I wanted to go in my head. I had recently lost my dog and had a pretty long term relationship end, this felt like a really good time to have a "tribute" project to put my time an energy into. After Aspen passed it felt like there were echos of her everywhere. I would walk home from work and instead of opening the door to a wagging ball of energy, I would walk into an empty space of silence. "From Ash and Echo" and "a love letter" were a bit of a tribute to her and to that time in my life.

Once I had the frame designed (roughly). I went for it and ordered all the steel and parts to build the bike. I ordered everything 10mm longer than calculated in case I made a mistake. I ended up using butted tubing for everything so I wanted to make sure the thickest part of the tubing was the area I was putting heat into and where the joint would be. The tubing was all order through Bike Fab Supply, Andrew was great to work with for all the bending and all the bends came back just like I was hoping they would. The head tube and BB were through Paragon Metal Works and all the fun little bits like dropouts and cable guides were through Metal Guru.


Once everything was ready to go, we took a little 3d printed jig and put the bottle boss holes in all 3 tubes.


 We got the frame fully brazed up that day. It took about 10 hours for 2 idiots who don't know what they are doing to get it done. If I were to build another, I think I could do it in 40% less time. Pretty exciting prospect. I took the frame home with me to soak in the bathtub and try to get some of the burnt flux off. I still don't know how to do that part well. Some of it came off super easily and some of it was a battle for hours. For all the sections of frame I couldn't submerge, I wrapped a wet wash cloth around the tubes and let them sit.
 The next morning I woke up early to head to the San Util shop to get all the logos and decals cut out for the frame. I used a Cricut to cut out some stickers. I ran over to the metal shop and sprayed the first coat of paint that would ideally be the logos (under the black and cobweb). I didn't use any steel primer or anything and wish I would have. Some of the gold ended up peeling with the sticker logos. It ended up looking really cool and like I meant to do it, but for the next build, I will take more time to do it right.


